Google Says “This site may harm your computer” Prevention
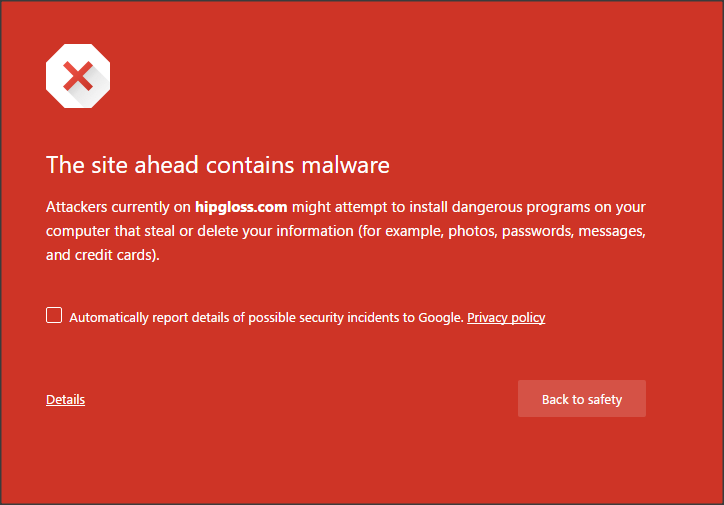
You know you’ve got a problem when Google flags your WordPress site for malware. First they will show a warning that a site has been hacked then if it isn’t improved or gets worse, the warning changes to “this site may harm your computer” and your website now has a lovely red entry warning visitors to stay out.
I am going to walk you through a handful of preventative measures that will help protect your site from attacks happening in the first place.
File Permissions
The most important step I believe is adjusting the file permissions on 2 specific files:
.htaccess
wp-config
By default, after WordPress installs, these two files are set as 644. This means that all can READ the file and the OWNER can write to the file. If an attack occurs which makes your site believe that something or someone else is the owner, you have now given them permission to see your database name and password as well as adjust your .htaccess file anyway they choose. Pretty scary stuff.
I would recommend removing the OWNER WRITE permission which will drop each file down to READ ONLY at 444.
Permissions can be set by selecting the file in your cPanel, Hespia, or FTP and viewing the properties.
Helpful Plugins
The first plugin I install after a new WordPress installation is McAfee SECURE. This is a free plugin that provides a seal in the bottom right corner of your site. The seal shows that your site is malware/virus free and sets the visitor at ease. A great visual.
The second plugin I install is All In One WP Security.
The third plugin I install iThemes Security.
The 2nd and 3rd are pretty similar and you may not need both. I personally would rather have too much security than not enough. Some of the features of 2 and 3 are:
- Rename your login page to hide it
- Set up a timeframe when you do not edit your website (you are asleep) to make your admin login area unavailable
- Turn on Firewall
- Block IPs hitting 404’s over and over
- Block core files from being viewed or accessed
- Setup a standard blacklist to get you started
- and much more!
Online Scan
A good free online scan is – https://sitecheck.sucuri.net/
Use this scan after you have a new site live to make sure it is clean. Continue to use this scan throughout the life of your project and once again after the site goes live. This scan will show you the files it finds that have malware in them so that you can manually clean them.
Other Tips
Plugins/Themes
Only install Plugins and Themes that are trusted and available through the WordPress repository. If you buy a Theme or Plugin, make sure you are buying it directly from the author and scan it with Malwarebytes as well as your favorite anti-virus software on your computer before installing to your website.
Familiarity
Become familiar with your WordPress file structure. You may notice odd files or changes over time and will be able to look at the code and troubleshoot.
Back Up Your Site
Of course, having a good backup of your site is key. My recommendation is to make a backup as soon as you launch a website at its cleanest moment. Then, make regular daily backups, my suggestion is to use the tool BackUpBuddy in addition to your hosts backup solutions.